How to Deploy SDK
Current document applies to
zsl-1 device SDK version v0.2.6 or above, motion control version v0.2.6 or above (robot body 0.2.0 or above)
zsl-1w device SDK version v0.2.7 or above, motion control version v0.3.1 or above (robot body 0.3.3 or above)
Environment Dependencies
- Ubuntu 22.04
- CMake 3.8+
- GCC 11+
- Eigen3
- boost 1.74
- python3
1. Network Communication
The device is equipped with wireless and wired network interfaces, where wireless network information is located on the label on the right side of the device, indicating the device SSID and password information.
Default robot IP:
| Network Interface | IP Address | DHCP |
|---|---|---|
| Wireless Network | 192.168.234.1 | Yes |
| Wired Network | 192.168.168.168 | No |
The wireless network is equipped with DHCP service. After connecting to the wireless network, ensure that the operating device's wireless network is not configured with a fixed IP, and you can directly establish communication with the robot through 192.168.234.1.
The wired network does not have DHCP service. After connecting via cable, you need to configure a fixed IP on the operating device's wired network, and the IP should be in the 168 subnet to establish communication with the robot.
If the robot's IP changes, you need to configure SDK_CLIENT_IP
2. Modify Device-side Communication Parameters Related to SDK
2.1 Login to Device
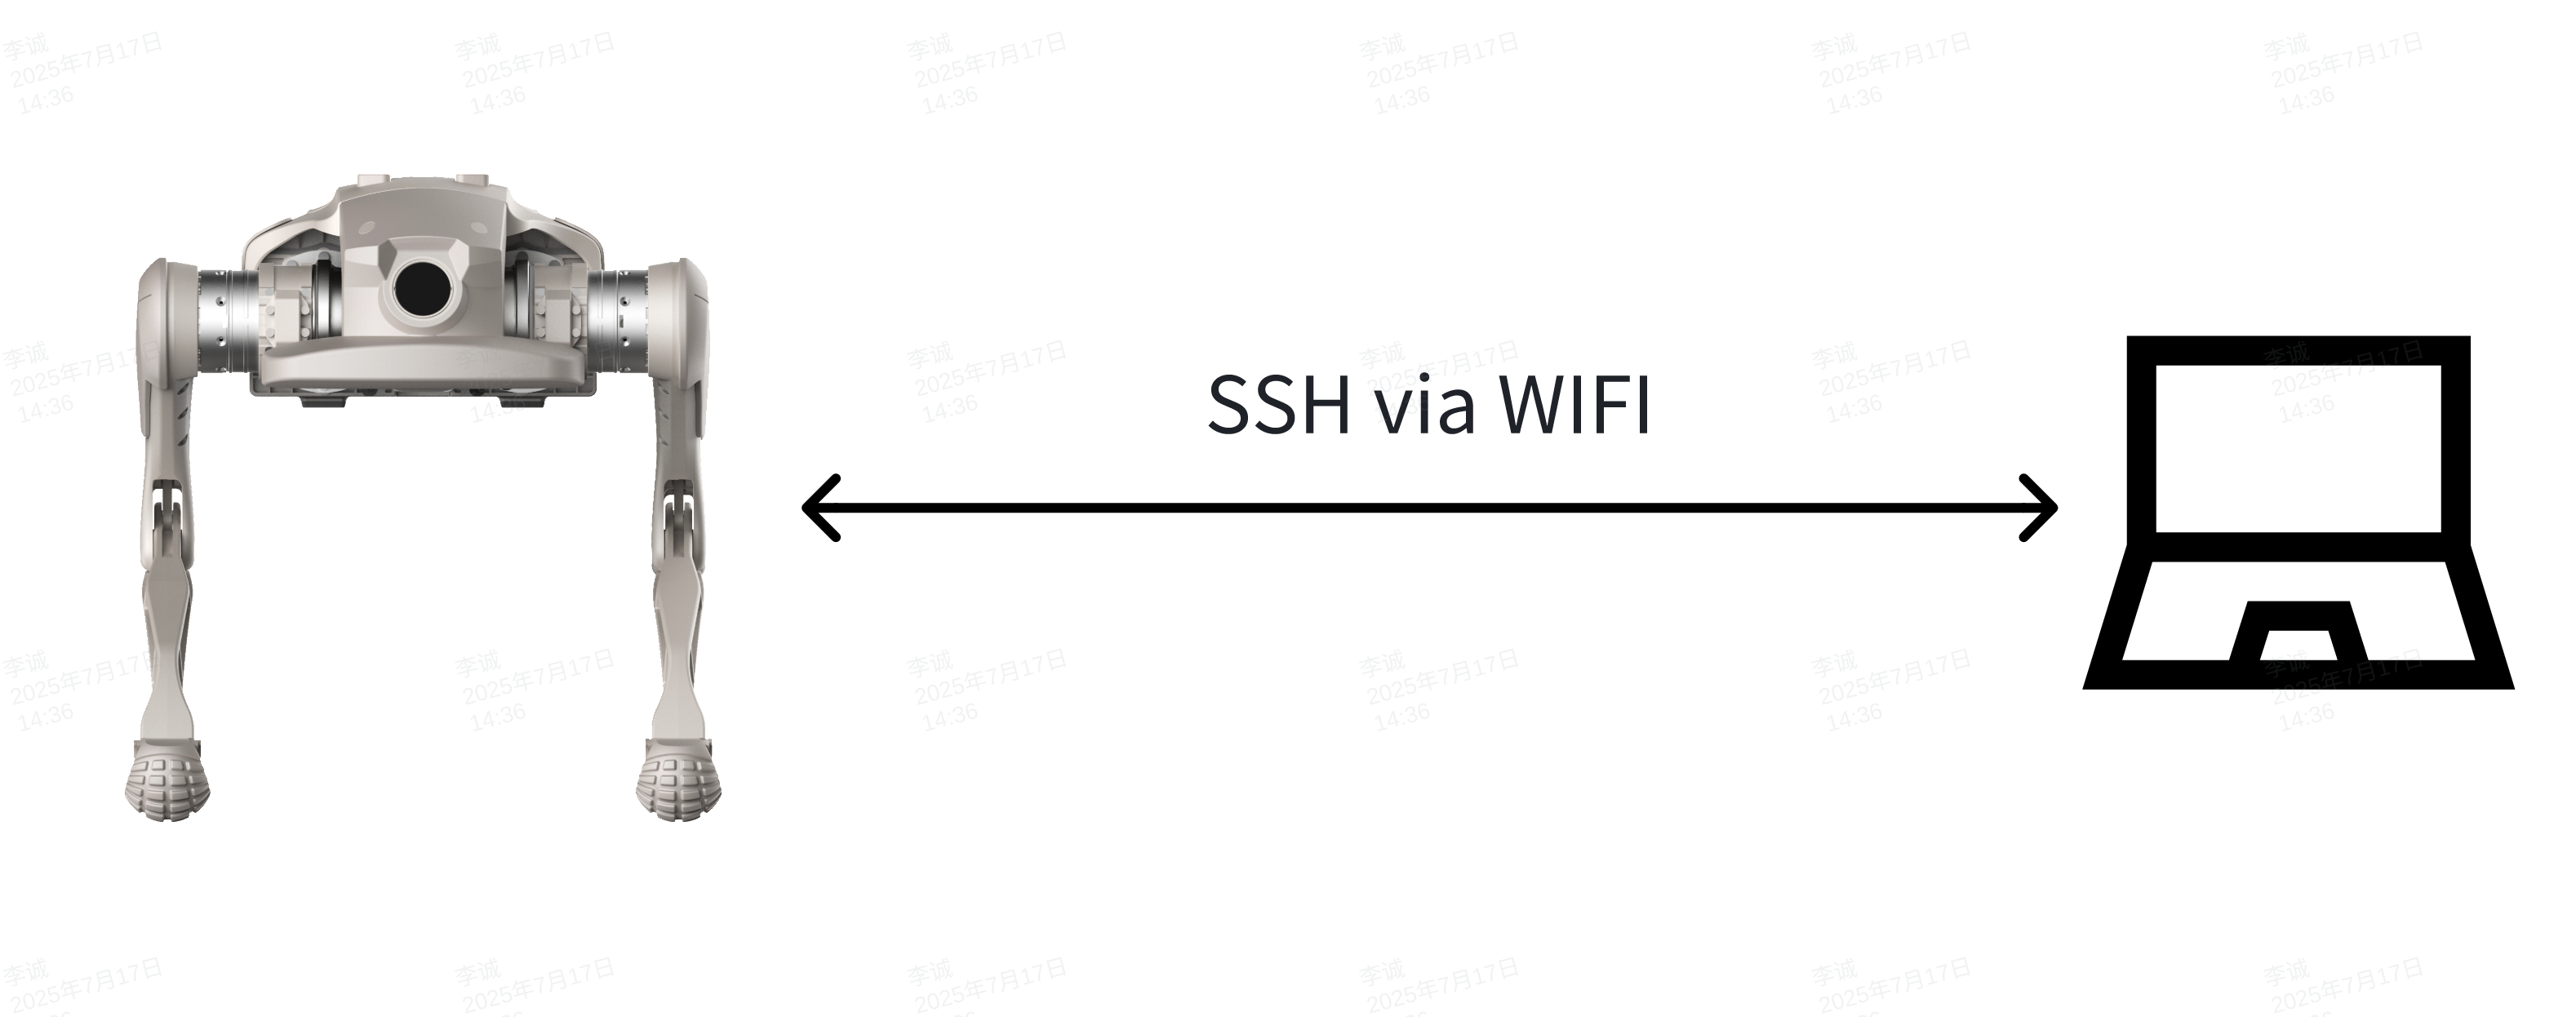
The device provides SSH login. After creating a connection with the device through WiFi or wireless, you can use the command:
1 | |
{IP} according to wired/wireless, and both password and username are firefly.
2.2 Modify SDK Configuration File
Use vim command to modify /opt/export/config/sdk_config.yaml file:
1 2 | |
Set target_ip to the IP address of the control device after connecting to the robot, and target_port can remain unchanged if not necessary.
By default, the device only supports WiFi network, i.e., target_ip is the IP address of 192.168.234.X. If you need to communicate through cable or other subnet IPs, you need to configure SDK_CLIENT_IP in conjunction with step 2.4.
Parameters need to be restarted to take effect after configuration!
2.3 Configure SDK_CLIENT_IP
If you need to use a cable or non-192.168.234.X subnet IP to control the device, you need to use the vim command to modify
For ZSL-1 (quadruped point-foot), modify /opt/app_launch/start_motion_control.sh file:
For ZSL-1w (quadruped wheel-legged), modify /opt/app_launch/start_motion_control_xgw.sh file:
1 2 3 4 5 6 7 8 9 10 11 12 13 14 15 16 17 18 19 20 21 22 23 24 25 26 27 28 29 | |
In the above code line 27, add the corresponding configuration: export SDK_CLIENT_IP="robot new ip", and fill in the robot's IP address in the corresponding parameter. If using wired network, change the robot's new IP to 192.168.168.168, or modify to the corresponding IP if it's another IP.
The IP configured in target_ip and SDK_CLIENT_IP must be in the same subnet!
Parameters need to be restarted to take effect after configuration!
There is a probability that configuring this parameter will cause the robot to be unable to use the remote controller!
After configuring SDK_CLIENT_IP, if the device's network is not initialized after booting and the corresponding network card is not assigned an IP address, causing the motion control program to fail to bind the IP address, the robot will not be able to use the remote controller. Solution
3. Modify SDK Demo Configuration
3.1. Configure C++ IP and Port
Modify CLIENT_IP and CLIENT_PORT in the code:
1 2 3 | |
3.2. Configure Python IP and Port
1 | |
The robot IP and local port in the configuration parameters must be consistent with the target_ip and target_port parameters in sdk_config.
Please ensure that the robot IP and port number match, otherwise communication cannot be established!
If you delete or comment out the IP in sdk_config.yaml, it will cause the robot's motion control service to fail to start automatically!
When the device program is updated, or the motion control program is updated, the configuration file will be reset, and the relevant configuration needs to be reconfigured!
4. Example Running Steps
4.1 Compile Demo
ZSL-1
1 2 3 4 5 | |
ZSL-1w
1 2 3 4 5 | |
4.2 Run C++ Demo
ZSL-1
1 2 3 4 | |
ZSL-1w
1 2 | |
ZSL-1w does not provide LowLevel interface, so only highlevel_demo is available.
4.3 Run Python Demo
ZSL-1
1 2 3 4 | |
ZSL-1w
1 2 | |
If 'connect time out' appears after running, refer to the solution connect time out
4.4 Using mc_sdk Based on CMake
ZSL-1
1 2 3 4 5 6 7 8 9 10 11 12 13 14 15 16 17 18 19 20 21 22 23 24 25 26 27 28 29 30 31 32 33 34 35 36 37 38 39 40 41 42 43 44 45 46 47 48 49 50 51 52 53 54 55 56 | |
ZSL-1w (CMake Path Difference)
Consistent with ZSL-1 configuration, only need to change the <model> in the library and header file paths to zsl-1w:
1 2 3 4 5 6 7 8 9 10 11 12 13 14 15 16 | |
4.5 Using mc_sdk Based on Python
ZSL-1
1 2 3 4 5 6 7 8 | |
ZSL-1w
1 2 3 4 5 6 | |